Viper 1 of 1 Custom Build Experience
For the final year of Viper production Dodge introduced the 10f1 Custom Build Experience. This allowed buyers the opportunity to select from a wide seletion of options to create their dream Viper. Throughout the process, buyers would receive status updates and build pictures via the Viper Concierge Service. This helped to both increase excitement for my new ACR and make the four month build time more bearable.
Check out pictures from the process below.
Paint | Engine/Chasis | Final Assembly | QA
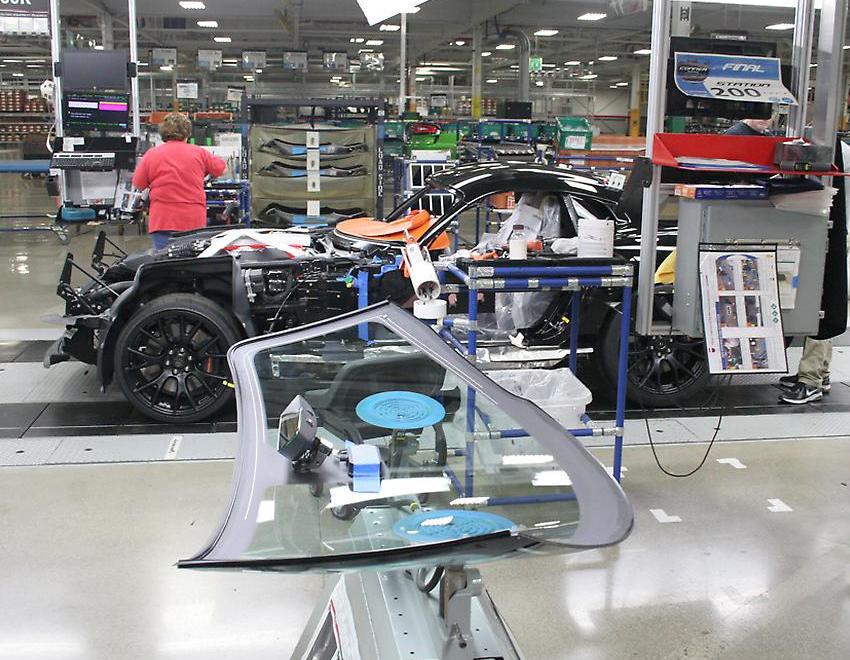
Final Assembly
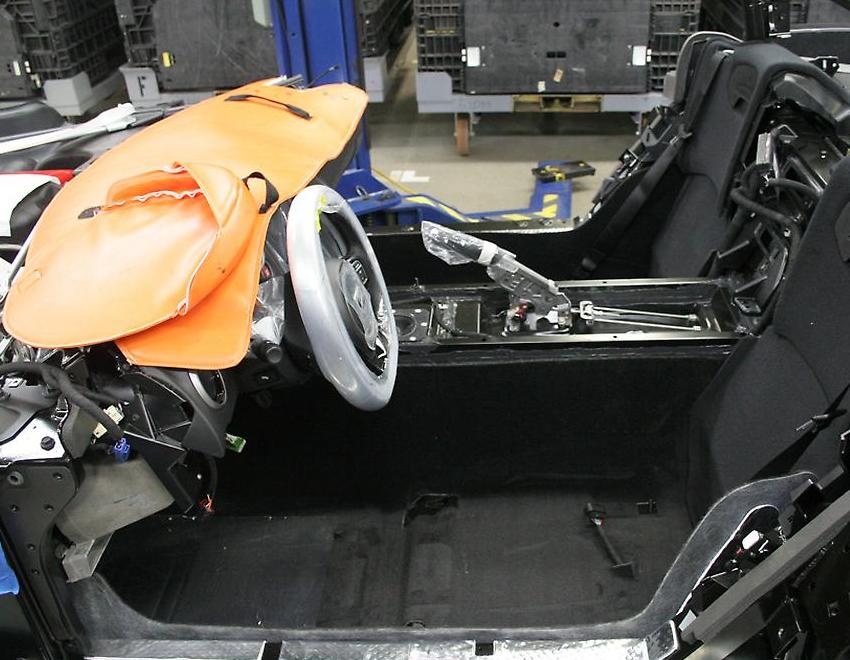
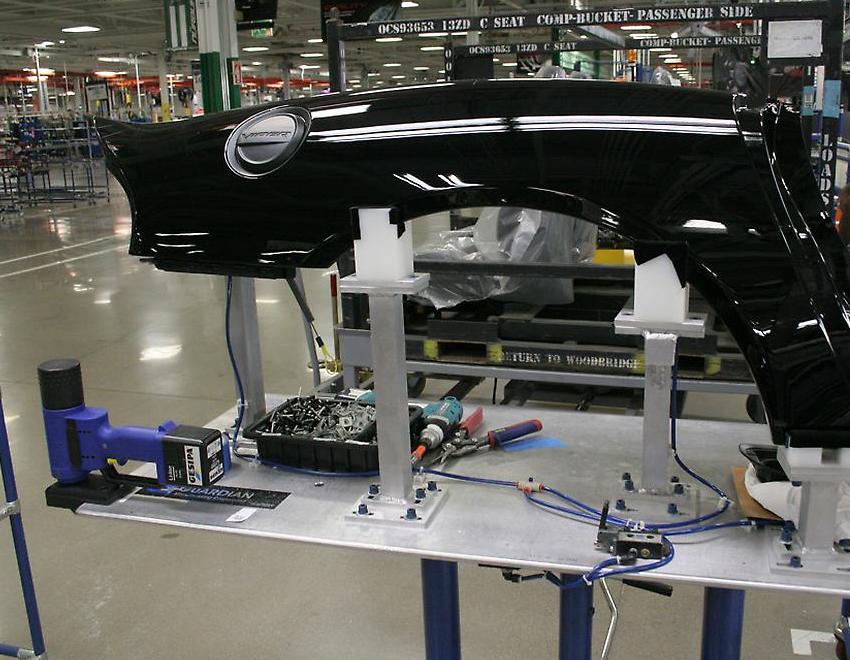
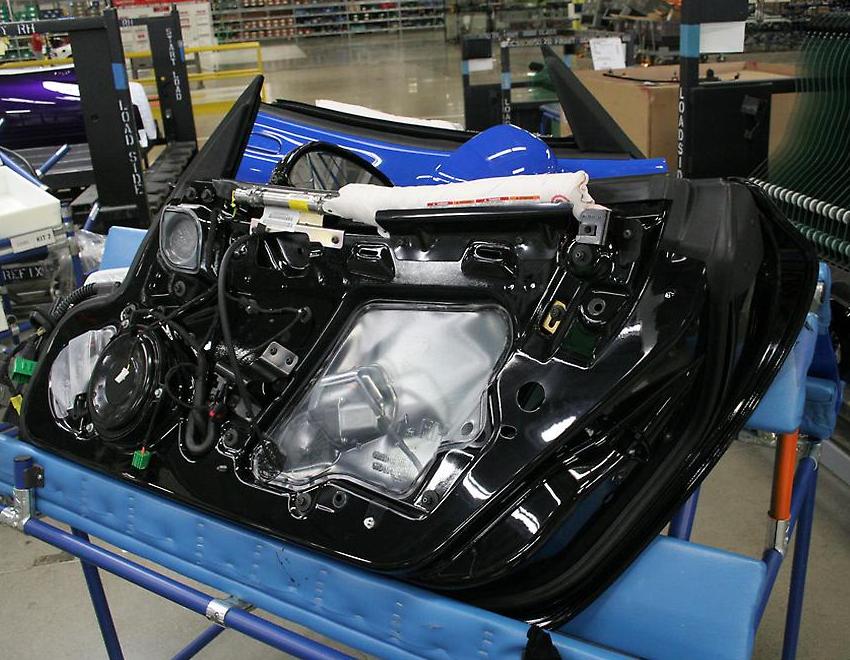
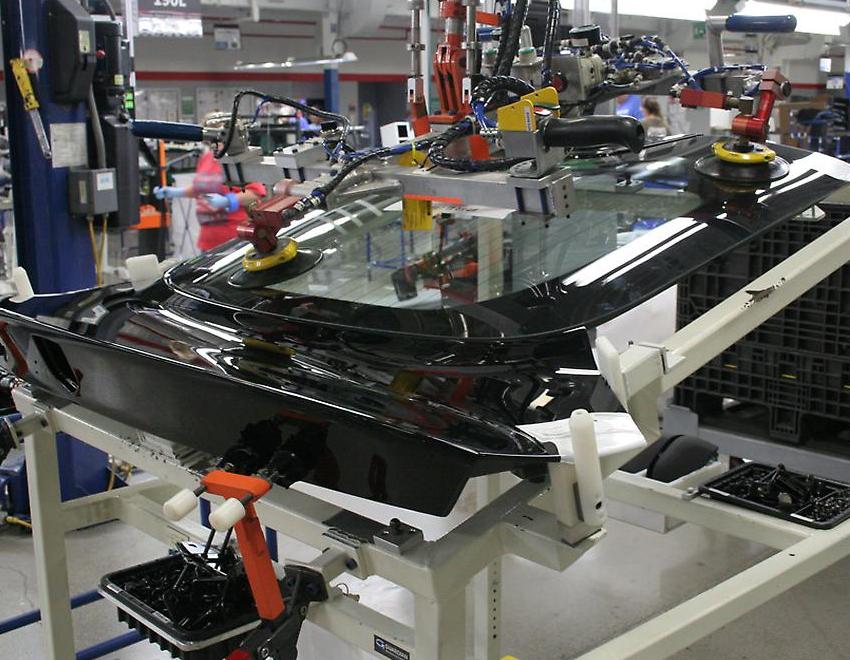
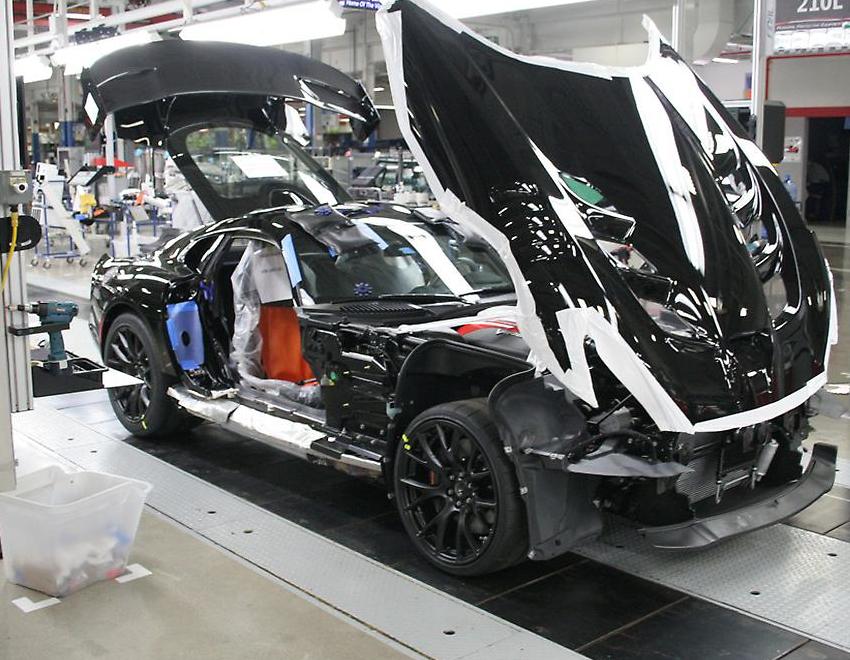
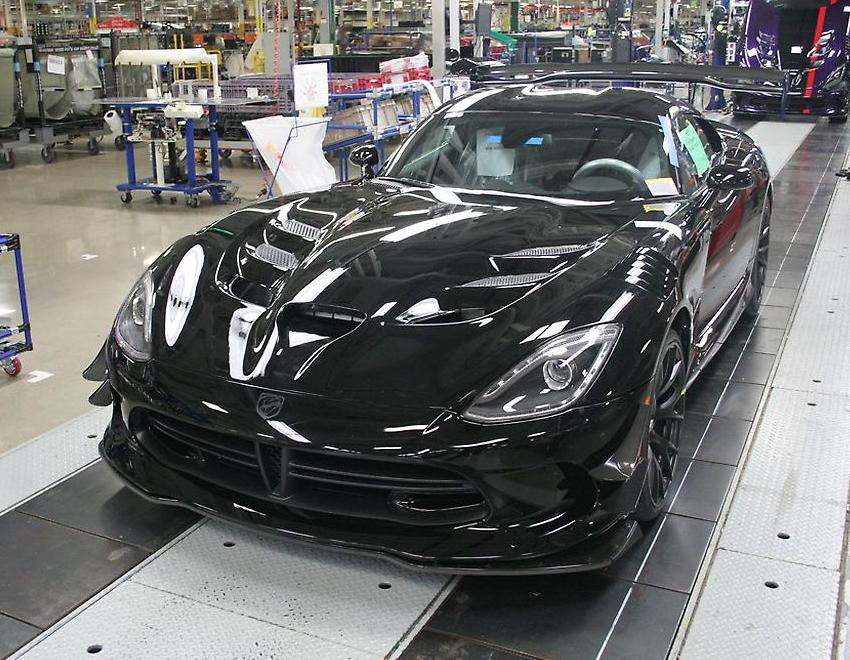
The first station was where the trunk pan and sport bar are installed. The sport bar is an important part of Viper because it helps stiffen the chassis and provides additional protection for the passengers. Up next is the interior where we add the bulkhead, center console, shift knob trim, parking brake trim, carpeting, and the Black Preferred Suede and Leather-trimmed seating. From there we install the A-pillars, set the windshield and start hanging the body panels, specifically the roof, rear quarter panels, rear decklid and rear fascia. The Viper’s clamshell hood is one of the world’s largest automotive parts made from a single piece of carbon fiber, and after that is installed – we add the doors and other assorted trim pieces. The front fascia is installed next, followed by the side sills and then the headlight assemblies. At this point it is fully assembled; however, before moving it off the final line it will be inspected from nose to tail to confirm the functionality of things like the doors and windows.